In-Depth Analysis: Tactics That Defined the Champions League Final
Opening Overview of the Final
The Champions League final showcases the pinnacle of club football, and this season’s matchup brought two elite teams battling for supremacy. Featuring a clash between the tactical discipline of Team A and the aggressive pressing style of Team B, the final carried immense significance—a culmination of months of preparation and strategic planning. With millions watching worldwide, this match not only decided the champion but also offered a fascinating case study in contrasting football philosophies.
Each side arrived with distinct tactical blueprints shaped by their managers, star players, and the season’s context. This article dissects those tactical approaches, highlighting how formations, pressing intensity, set-piece usage, and in-game adjustments influenced the final scoreline.
Formations and Starting Tactics
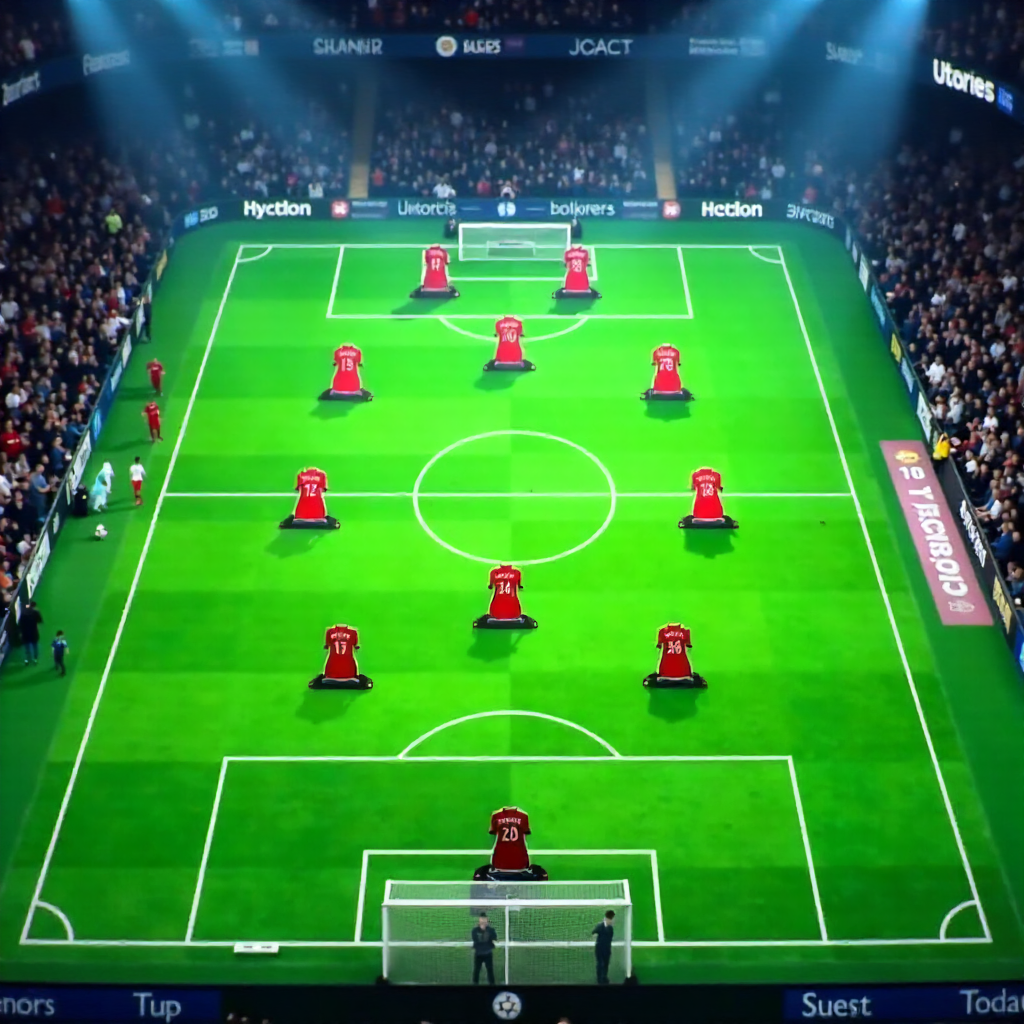
Both teams unveiled carefully chosen formations that set the stage for the tactical battle. Team A deployed a classic 4-3-3 formation focusing on width and midfield control, while Team B opted for a flexible 3-5-2, emphasizing wing-back overloads and defensive solidity.
Team A’s 4-3-3 allowed for a balanced attack with two high wingers and a central striker, supplemented by a holding midfielder who screened the defense. This structure aimed to dominate possession and pressure Team B high up the pitch. In contrast, Team B’s 3-5-2 formed a compact spine, with three central defenders supporting dynamic wing-backs who alternated between attack and defense, enhancing both width and defensive resilience.
These formations reflected underlying philosophies: Team A prioritized ball retention and controlled buildup, whereas Team B sought quick transitions and exploiting wide areas through wing-backs — a tactical trade-off between control and counter-attacking threat.
Key Tactical Battles on the Pitch
The match boiled down to several critical positional duels that shaped possession phases and attacking rhythms. One standout battle was between Team A’s advanced winger and Team B’s wing-back known for tight marking and stamina, which frequently delayed key attacks.
In midfield, the tussle between Team A’s deep-lying playmaker and Team B’s combative defensive midfielder defined the tempo. Team A aimed to orchestrate plays from deep, but constant pressure limited their influence early on. Defensively, Team B’s back three faced challenges dealing with Team A’s fluid front three, requiring constant shifts and communication.
These micro-battles exemplify how tactical roles, such as wing-back overlaps or midfield pivots, can influence both defensive stability and attacking creativity. The duel for midfield control often dictated which team could sustain pressure and create chances, highlighting the intrinsic value of player positioning against system shape.
Moments That Shifted Momentum
Several pivotal moments swung the momentum decisively during the final. A key substitution saw Team A introduce a dynamic winger who stretched Team B’s defense, creating space for overlapping full-backs. This tactical tweak effectively stretched the opposition and led directly to a crucial goal-scoring opportunity.
Additionally, a decisive interception in midfield disrupted Team B’s counter-attacking flow, forcing them into deeper defensive positioning. Another turning point was a tactical foul to stop a dangerous transition, illustrating how match management through fouls or game tempo control plays an underrated role in tight contests.
These moments underline the importance of timely in-game adjustments, execution under pressure, and recognizing spatial advantages to capitalize on fleeting opportunities. Tactical flexibility, as opposed to stickler rigidity, emerged as a defining factor in the high-stakes environment.
Role of Set Pieces and Pressing Strategies
Set pieces proved a significant tactical weapon, with both teams dedicating preparation to corners and free kicks. Team B’s zonal marking on corners contrasted with Team A’s man-to-man system, influencing aerial duels that created scoring chances. Particularly noteworthy was Team A’s well-rehearsed short corner routine that isolated defenders and unlocked compact defenses.
Pressing strategies shaped possession patterns dramatically. Team B applied a high-intensity press in the first half, intended to disrupt Team A’s buildup and force errors near their box. Team A responded by dropping into a mid-block pressing system, balancing aggression with defensive coverage.
This tactical interplay of pressing and set-piece execution underscores how dead-ball situations can be both an offensive opportunity and defensive challenge. Effective pressing disrupted rhythm but risked exposure to counter-attacks, highlighting a classic tactical trade-off.
Player Performances Through a Tactical Lens
Certain players stood out not just for individual skill but for their critical tactical roles. Team A’s defensive midfielder anchored the team’s buildup, facilitating smooth transitions from defense to attack. His positional discipline and passing accuracy were instrumental in maintaining possession under intense pressure.
Meanwhile, Team B’s wing-backs operated as dual threats, contributing defensively and in wide attacks. Their stamina and tactical awareness in tracking back thwarted several counter-attacks while also providing width for quick counters.
The central forwards for both teams demonstrated contrasting styles—Team A’s striker excelled as a false nine, dropping deep to link play, while Team B’s target man held up the ball, enabling wing-backs to push forward with urgency.
These role executions embody how modern tactics rely heavily on players understanding and fulfilling complex responsibilities within dynamic systems rather than pure athleticism alone.
Final Thoughts and Tactical Takeaways
This Champions League final highlighted enduring tactical themes like formation flexibility, pressing approaches, and maximizing set-piece advantages. The match confirmed that successful teams blend coherent strategies with in-game adaptation, balancing defensive organization against attacking fluidity.
The evolution of player roles, especially wing-backs and holding midfielders, continues to redefine how teams control games tactically. Managers who prepare multiple tactical plans and react swiftly to momentum shifts often find the edge in elite competitions.
In sum, this tactical chess match offers valuable lessons for fans and analysts alike—football at the highest level is a complex interplay of preparation, execution, and responsiveness.
FAQ
What formation was most effective in the Champions League final?
The 4-3-3 formation used by Team A was most effective in controlling possession and creating width, allowing them to dominate midfield play and generate goal-scoring opportunities.
How did pressing influence the result of the match?
Pressing disrupted the opposition’s build-up phases and forced turnovers; Team B’s early high press unsettled Team A initially, but Team A’s adjustment to a mid-block press helped neutralize threats and regain control, proving decisive.
Which player’s tactical role was crucial in the final?
Team A’s defensive midfielder played a crucial role by linking defense to attack, maintaining possession under pressure, and directing the tempo—a pivotal tactical fulcrum for their side.
How do managers adapt tactics during high-pressure matches?
Managers make targeted substitutions, tweak formations, and adjust pressing intensity to respond to momentum shifts, exploiting weaknesses or shoring up defenses. Flexibility and real-time decision-making are key to managing high-pressure finals.
For deeper tactical insights, consult resources like the UEFA Champions League official page or analytic breakdowns on specialist football sites.